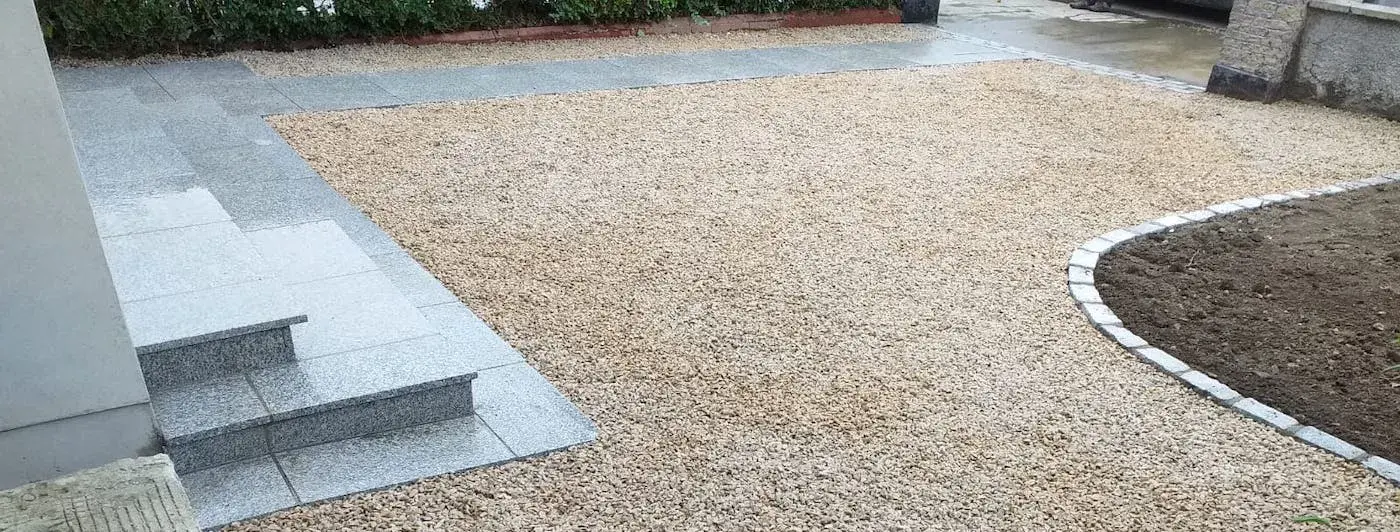
Gravel driveways are a top choice for homeowners in Dublin and across Ireland, thanks to their affordability, durability, and aesthetic appeal. One of the standout benefits of a gravel driveway is its relatively quick and straightforward installation process, making it a popular choice for both DIY enthusiasts and those looking for a professional finish.
In this guide, we’ll walk you through the essential steps for planning, constructing, and maintaining a gravel driveway. Whether you’re considering taking on the project yourself or hiring a professional, our expert tips will help you achieve a durable and attractive driveway that enhances your property’s curb appeal.
Explore our portfolio of gravel driveway and patio installations in Dublin to see the quality and craftsmanship that sets us apart.
The Gravel Driveway Installation Process: Step-by-Step Guide
Pre-Construction Planning for Gravel Driveways
Effective planning is crucial before you begin your gravel driveway installation. This stage involves selecting the right materials, mapping out the driveway area, and considering factors like drainage and edging that will impact the longevity and appearance of your driveway.
Planning the Area
Start by determining the ideal location and shape for your driveway. Consider whether you prefer a circular driveway or a straight path that provides parking and access. Pay close attention to the ground’s slope and potential drainage issues—proper grading is essential to ensure water runs off the sides rather than pooling in the center.
Mark and measure the area for your driveway, and decide whether to include edging borders, which can enhance both function and aesthetics.
Choosing Materials and Calculating Costs
To successfully install a gravel driveway, you’ll need a variety of materials and tools, including landscape stakes, string, gloves, a wheelbarrow, shovel, rake, weed barrier, and gravel. Additionally, heavy equipment like a mechanical compactor and a backhoe or tractor may be necessary for excavation and compaction.
For DIY projects, calculate the total cost of materials and equipment rentals, and consider the time investment required. If you opt to hire a professional team, expect costs to range between €45 and €65 per square meter. This price can vary based on the existing surface, preparation work, accessibility, driveway size, design features, gravel type, and expected vehicle traffic.
Construction Phase: How to Build a Gravel Driveway
Proper construction is key to ensuring your gravel driveway is both durable and visually appealing. The construction process involves four critical steps: excavation, installing a geotextile membrane, laying the sub-base material, and finally, spreading the gravel.
Step 1: Excavation
Begin with a thorough ground inspection and excavation to a depth of 5cm to 20cm, depending on soil conditions and any pre-existing surfaces. Using a tiller can speed up the process by loosening the soil, making excavation easier. Ensure the surface is level—any uneven areas should be filled with compacted sub-base material to prevent water pooling and future issues like mud puddles.
Once excavation is complete, compact the dirt using a compactor machine or by driving over the area with a heavy vehicle to create a firm foundation.
Step 2: Installing the Geotextile Membrane
Next, lay a geotextile membrane over the excavated area before adding the sub-base. This membrane prevents weed growth through the gravel and stops the soil from binding to the base stone, which can negatively impact drainage. Ensure the membrane covers the entire surface or slightly exceeds it to provide maximum protection.
Step 3: Laying the Sub-Base Material
The sub-base is the most critical component of your gravel driveway, providing structural support and helping to distribute the weight of vehicles. Typically, the sub-base consists of crushed rock graded from 40mm down to dust, which allows the material to interlock when compacted while remaining permeable to water.
For most driveways, the sub-base should be between 10cm and 15cm deep, depending on expected traffic. Install the sub-base in thin layers, compacting each layer with a vibrating roller or wacker plate to ensure stability and durability.
At this stage, you may also add edging to create a defined border between the driveway and adjacent areas.
Step 4: Spreading the Gravel
Finally, spread the gravel to complete your driveway. This step is relatively simple but requires attention to detail to ensure a smooth, even surface. Aim for a gravel depth of 3cm to 4cm—too much gravel can increase costs and reduce driveway performance.
For optimal drainage, grade the driveway so that the gravel peaks in the center and slopes slightly towards the sides. A gradient of 2% to 5% from the center to the edges is ideal for promoting effective water runoff.
Post-Construction: Gravel Driveway Maintenance Tips
With proper care, a gravel driveway can last for decades while maintaining its fresh, new look. Here are some essential maintenance tips to keep your gravel driveway in top condition:
Cleaning and Upkeep
- Remove Leaves in Autumn: Regularly remove leaves and debris, especially in the autumn months, to prevent buildup that can lead to weed growth.
- Rake the Surface: Light raking will help maintain a smooth and level surface, particularly in areas with frequent vehicle or foot traffic.
- Repair Potholes: Over time, potholes may form in your gravel driveway. Address them promptly by raking back gravel or adding more material if the pothole is deep.
- Replenish Gravel: As gravel naturally wears down, top it up periodically to keep your driveway looking fresh and new.
- Control Weeds: Regularly remove weeds by hand or use weed killer as needed to maintain a clean, attractive driveway.
Addressing Sinking
A well-installed gravel driveway should experience minimal sinking. However, if you notice sinking over time, adding a layer of new gravel can restore the surface. For more significant sinking, it may be necessary to remove the top gravel layer, add and compact more sub-base material, and then replace the gravel to bring the driveway back to the desired level.
For more in-depth information on gravel driveways, visit our FAQ page, where we answer common questions and provide additional resources.


